LEGGI QUESTO POST IN ITALIANO
Welcome back among the pages of my "Diary of an Apprentice Woodworker"!
Today I'll take as an example, that reminds me of my childhood, Kids TV Shows where they demonstrated how to create some little projects whit paper and glue.
Do you remember how they illustrated the tools that would be needed to implement the project of the episode?
Very simply (they addressed to children) were showing all the tools and materials needed before you start with the actual construction.
And it's to those TV Shows that I want to inspire for this article.
WOODWORKER'S TOOLS
By now I intend to simplify as much as possible this topic that is really extensive.
In fact there are a lot of tools, including Traditional Joinery and Modern Joinery, used by Woodworkers.
On entering the shop of a Woodworker you have certainly noticed large machines like saws of all kinds, planers, work benches etc ...
But it'll certainly eye fell also on the famous work bench.

With this article I will help you to select just the tools you need at first, to make small and simple projects.And on the wall near this bench, a myriad of tools of which it's hard to understand the usefulness, if you are not a Pro.
Also because many of those tools are quite expensive and we don't want to spend so much all at once!
Maybe we'll buy a little at time...
At the end of this article, you should create your little Woodworking Kit and you will be ready to start to Work Wood.
Ok, let's start!
THE BASIC TOOLS FOR WOODWORKING
Let's discover the tools that you should buy now if you want to begin to make a small project with wood .
I write this article because I know the uncomfortable feeling you can get when, in the middle of a process, you find yourself without a crucial tool and you are forced to stop.
Right in the middle of the creative flow!
These things make me nervous...
Obviously I'm not talking about tools that we all have in the garage (pencils, screwdrivers, pliers, cutters, wrenches etc)
And I'm not talking about security objects (even these deserve a separate article), but for now you should at least wear thick gloves and a mask to avoid breathing in wood dust.
Let's talk about specific equipment and a little more professional.
So don't get caught unprepared!
Arm yourself with these 15 essential tools:
- Measuring Tape
- Woodworker Set Square
- Woodworker Compass
- Hammer
- Vise
- Clamps
- Hand saw
- Jigsaw
- Circular saw
- Drill/Screwdriver
- Manual Planer
- Electric Planer
- Sandpaper (various grits)
- Chisels
- Files and rasps
Probably still you do not have a real Work bench .
So I suggest, in the meantime, to work on an old table to not have troubles.
BEFORE YOU'LL BEGIN I TELL YOU A SECRET
You do not need to go looking for one by one all these tools to buy
I have already done all the work for you
(Then don't say that the Wood Blogger doesn't love you ...)
You can click on pictures or links below to see them in the online store and buy right now!
Enjoy the reading

For now it will go well with a 5 meters measuring tape like the one above.
Ok, maybe that you have it already in your home, but it's one of those essential tools that instead we tend to forget and I want to remember it anyway.
One of the most important features that a Woodworker needs is accuracy.
You have to be accurate in sizes and cuts.
You need to know all the dimensions of the pieces we're going to assemble already from before starting the construction of a project .
For this I'm also preparing the design and planning lessons : to enable you to arrive at the practical work with very clear ideas .
This will not waste time and valuable material!
Indeed, if I were you I'll also buy a good gauge .

The Set Square is another "precision" tool very important for you.
What I suggest at this stage is a combined set square , stainless steel, very light, durable and rich in useful features .
In fact, in addition to centimeters and inches indicated on the long side, it is equipped with a stylus to trace, a level and a swing.
Do you think is important for a Woodworker to create perfectly squared corners?
I would say so!

Another useful precision tool!
The Woodworker's Compass will help you to draw perfect circles and much more.
In fact, this tool is also used to bring measures and draw straight equidistant or parallel to shaped edges .
I think is better to shell out a little more money and have an extremely precise compass.
I don' t recommend you to take that old and inaccurate school compass of your child.
You've been busted!

Ok, this is a fairly common tool in every home.
Especially for us who are fan of joinery!
But I think it's important to mention this because it is crucial in its extreme simplicity and to have not it on hand could be very annoying.
The hammer is probably the most used tool in our business and is certainly one of the most representative.
So, buy a good comfortable and sturdy hammer if you still don't have it!
(Read the Guide on joints with hammer and nails for more)

Now to the tools that will help us to hold firm our and working them in peace.
In fact we often have to use a tool that is used with two hands (such as a planer or chisels and hammer) and we need that piece that we are working still remains.
A durable and stable vise is right what you really need.
Here I recommend you one that you can simply screw on your work bench.
This is not a real woodworker vise but if you are just starting and want to do small jobs, yet can fit.
When you'll have a real Roubo Bench ( clicking here you'll discover how to build it by yourself using few tools and saving money) it will be another story.

Another tool that you need in the moment you'll combine, and especially paste , your wooden pieces, to keep them firmly stopped while you're waiting for the glue to do its job.
They will be very useful in keeping steadfast work pieces that we can not block in the vise that I advised you before (which is for small pieces)
Then you'll have to take your Clamps!
Essential!!!
HANDSAW

A Real Woodworker cannot be without it!
It's a symbol rather than a tool.
Whenever I imagine a woodworker I see an old man in his dusty shop full of boards and chips.
Bowed on a bench with a handsaw, cutting a piece of wood .
Ok, it's a stereotype!
But I'm just a little romantic when I imagine something like this.
(Read the article on the wood cut for more)
I remember the first time I saw one at work I brightened.
It was something absolutely wonderful for me!
A saw (much less laborious than handsaw) that allows you to shape the wood in a fairly simple and accurate way.
Drawing shapes with wood ... GREAT!
Okay, it's not so great, but for me at that moment it was.
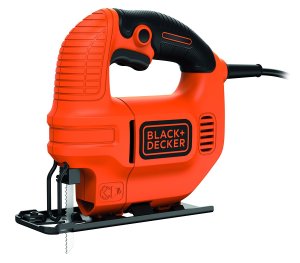
The discovery of the jigsaw...
(Read the article on the wood cut for more)

For now we speak of a circular handsaw .
Then we will have to equip ourselves with a circular saw bench, but for now I think is a big expense and if we have to do only some small objects the handy one will be good.
Needless to say that is very useful.
It's true that you can get from any DIY Shop and let you cut the pieces as you want.
But if you want you to feel free to make changes and cut new pieces, you will not have the famous annoying snag I was telling you about at the beginning of this article.
I can say, having a Circular Saw will make you free!
(Read the article about cutting wood for more)

The classic Cordless Drill used by a bit all the workers.
This is also likely that you already have it.
In that case you must ensure only to have wood drills bits.
But if you do not have it, buy it now because soon there will be much to be drilled and screw, unscrew and screw ...
So it will be fun!
(Read the guide on How to drill the wood for more)
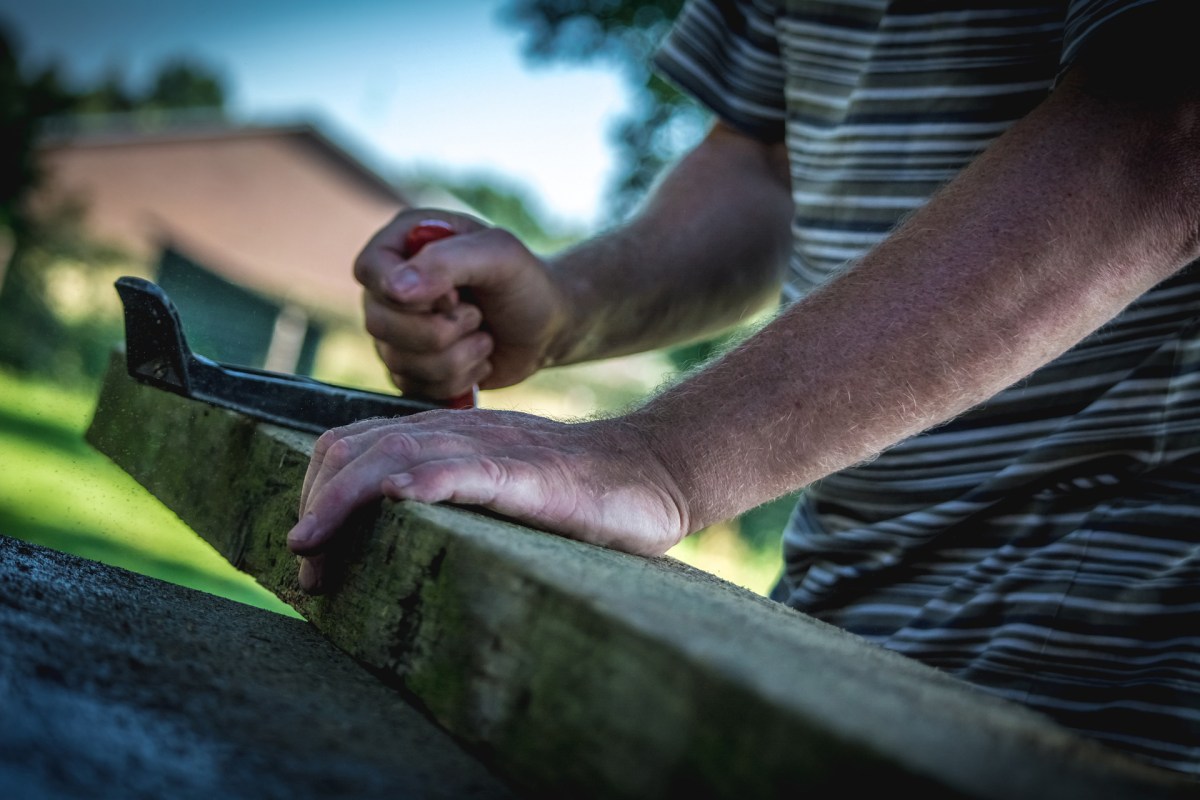
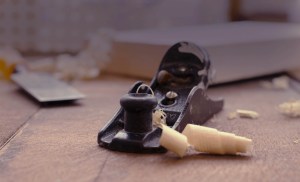
Here is another indispensable tool for the woodworker!
Another tool that I imagine in the dusty romantic workshop...
Our craftsmen , right now, is patiently and with fluid movements planing a wonderful chestnut piece.
Wield firmly with hands marked by work, his trusty plane , companion of many creations.
It's such a beautiful moment that I will not ruin it with technical details.
Close your eyes for a moment and dream with me ...
(Read the article about Planing wood for more)

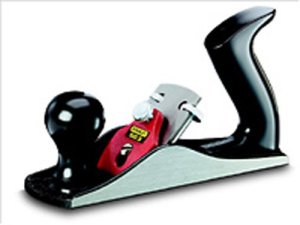
Stop dreaming!
You'll also need an Electrical Planer if you don't want to work too hard.
In fact, the hand planer is beautiful and romantic (and useful in many cases), but when the pieces to be done are many and big in comes into play convenience.
Accuracy, speed and fatigue reduction.
What else do you want?
(Read the article about Planing wood for more)

Even Sandpaper is a tool .
And it's essential!
To finish, polish and smooth , but also to "age" a piece sanding the paint .
I suggest you to arm yourself at least 3 different grits: a fine, a medium and a coarse-grained .

You don't have to be Michelangelo to know how to use it and I'm not saying that tomorrow you'll be able to sculpt a David better than him, in beech .
But having a set of chisels you can refine and make small interventions.
High practical rate instrument (and even a little artistic).
(Read the article about Joints for more)

Last, but not least!
There are different shapes and sizes .
The difference between file and rasp is that the first serves for smoothing the most delicate and has thinner teeth , while the second serves for roughing and more massive interventions.
In fact, the rasp is provided with a coarser and powerful texture.
Both are nonetheless very useful.
CONCLUSIONS
In this article I merely describe in broad outline these basic tools that you have to equip yourself to start woodworking.
Then we deepen them one by one in the next posts to learn how to use them in the best way.
Even if you're out of luck and you have none of the mentioned tools, with a few hundred euro you will have a small but consistent carpentry that will allow you to do so many things and above all fun.
Meanwhile, as always, I encourage you to report any inaccuracies or additions that could be done in the article, commenting below .
If this blog can become a point of meeting between professionals and apprentices is above all thanks to you and to your contribution.
Also remember to follow my FB page The WoodBlogger to stay informed!
If you like it you'll look even on my Instagram and Pinterest !
Good luck
See you next time!
The Wood Blogger


