Welcome back in the blog of those who love Woodworking!
Today I will enter into the details of one of the joints used by Woodworker to join components of a wooden object: Tenon and Mortise .
I had already mentioned something about it in the Guide to Joints .
However, summarizing, I’m talking about a union formed by a male (tenon) that is inserted into a female (mortise) .
As you can imagine is a type of interlocking very common and this is due mainly to three key features :
Average difficulty of realization
Effectiveness
Versatility
The difficulty of realization is certainly relative.
It’s relative to the craftsman who have to realize the joint: obviously, more experienced is him and easier will be for him to crop the precise form on the two pieces to be joined.
It seems obvious, but it’s not!
Often, watching an expert woodworker at work, everything seems so easy and straightforward.
Then, when we are left to work at first hand, maybe without an expert at our side to help us, everything becomes very complicated.
The only way to figure out what can be difficult for you is: PRACTICE!
Just practice a lot, possibly on scrap pieces, can help you achieve this manual to understand the real difficulty of a job.
I talk about Medium Difficulty taking as reference a person who already has a certain dexterity.
Regarding Effectiveness I think we agree that the joint works if it’s properly done.
Although this may seem obvious, but when you go to the practice all becomes less obvious and natural.
But it’s the versatility of this type of joint feature of which I’m going to talk primarily in this post. In fact I am going to show you 10 different variations of Mortise and Tenon you can meet in your works. Depending on the type of object you’re creating what you should consider is what’s right for you.
Whether you work with hand saw and chisels , or with power tools of various kinds, you should evaluate from time to time every chance to choose the best type.
THE VARIANTS
Here are 10 types of Tenon-Mortise joint:
Blind Mortise
Through
Through wedged
Barefaced tenon
Blind wedged
Foxtail wedged
Bridle
Haunched
Pinned
Blind double
BLIND MORTISE
The classic Tenon and Mortise .
This comes to mind at most enthusiasts, when I talk about a Tenon-Mortise joint.
In fact it’s essential to achieve solid and resistant structures.
Remember that the mortise should be slightly deeper than the length of the tenon in order to have space for the glue.
THROUGH
As you can see from the picture it’s very similar to the above.
The only difference lies in the fact that the mortise is a real through-hole and the tenon arrives flush with the rear face of the workpiece.
Usually the tenon is made slightly longer than necessary and the excess part is then cut flush to have a smooth and homogeneous surface on the other side.
THROUGH WEDGED
In this case, the tenon is not cut flush, but is enhanced and highlighted making it protrude a few centimeters.
Furthermore is punctured so that, by inserting a wedge , the joint locks without needing adhesives.
Precisely for this reason the junction is also removable .
Very frequent use of this joining parts of tables, chairs and benches .
BAREFACED TENON
No no, I do not mean to offend anyone.
Nor poor tenon which will be our job partner for a long time.
In this case it’s said barefaced because it has only one shoulder and is therefore decentralized.
It is used mostly for the production of chairs .
BLIND WEDGED
The Blind Mortise, instead of having the classic rectangular shape, is made wider than the tenon and with an inclined face .
In this way it’s inserted inside, near the tenon, a small reinforcing wedge that stabilizes the union giving more resistance .
FOXTAIL WEDGED
This interlocking Tenon-Mortise is realized mainly in the case of wood that are subject to strong dimensional variations . (remember WOOD IS A MATERIAL VIVO )
We practice a passer Slotting and a Tenon with double-edged “V” in which are inserted two wedges which can then be adjusted to the need at the moment when the timber will deform.
BRIDLE
It is the most widely used junction in the construction of frames for paintings.
The mortise is located at the end of the piece and, therefore, has an open face in which the tenon is inserted as in a channel.
HAUNCHED
The Tenon presents a sort of “step” which makes it more resistant to mechanical stresses.
Of course, the Mortasa will have the same shaping.
PINNED
I’ve already talked about pinning in the Article related to joints .
It’s a fairly basic type of junction. In this case, we need to give more strength to our through Tenon-Mortise .
As you can see from the picture, on the Tenon’s and on the workpiece on which is located the Mortasa, a hole into which is inserted a is practiced plug (a small wooden cylinder).
This interlocking is considered virtually unbreakable .
BLIND DOUBLE
One of the most difficult variantsto achieve .
You have to shape in a perfect way the two parts of the union to have a very solid and durable joint.
DO YOU KNOW MORE?
Do you know other variants of tenon and mortise used in woodworking?
Write me and participate to my project!
Just type in the comments below or send me an email at ilwoodblogger@gmail.com, attaching a picture or a simple design of the joint.
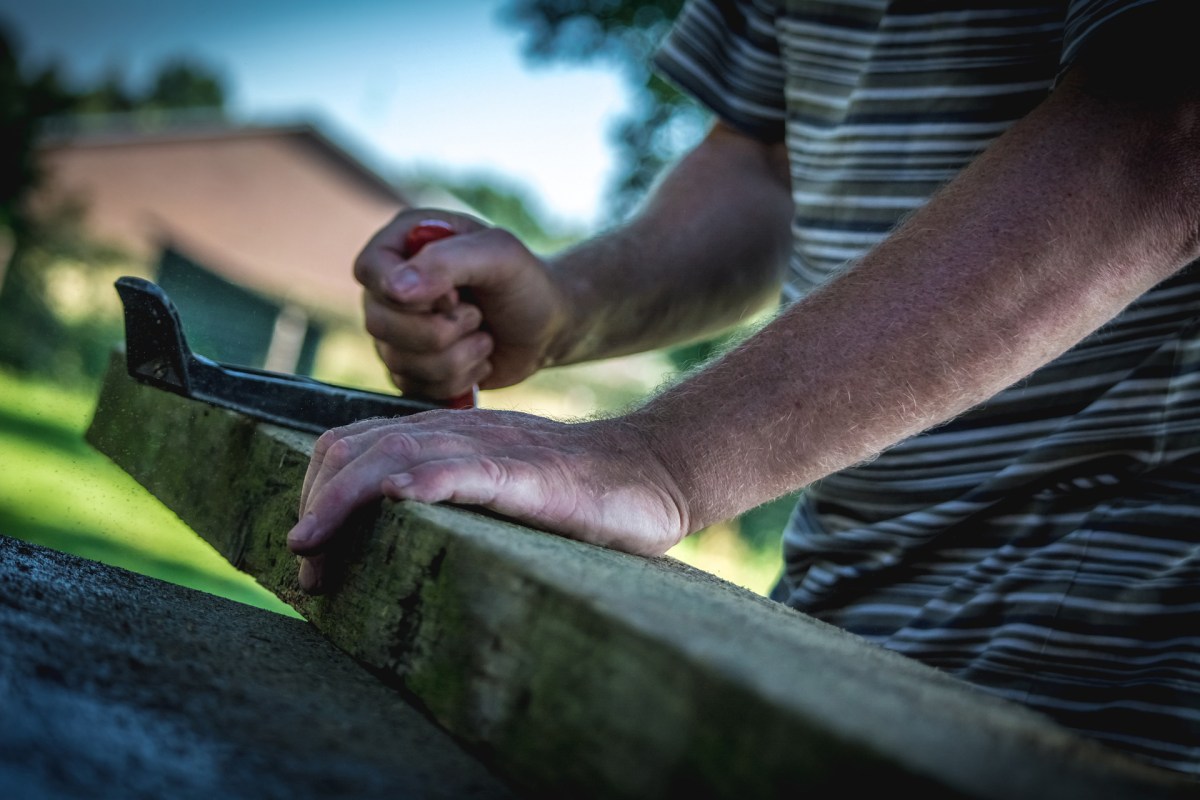
AT WORK!
Well!
Now you just have to arm yourself with patience and proper tools and immediately start to practice.
It’s ESSENTIAL to have good results in joinery.
I remind you that to stay up to date on my articles and don’t miss the news you can Subscribe to the newsletter (down left) and follow my Facebook page .
My adventure in the world of joinery is getting ahead.
Today I talk to you about the different ways that are usually used to connect wooden pieces .
In this article I will list the most common (later go into them one by one in specific articles).
Of course you’ll have to choose the most suitable in each situation.
Unless the furniture is not done by following a style that provides visible screws, or already know that these will then be hidden in some way, you should apply the joints I explain in this article.
Welcome back among the pages of my “Diary of an Apprentice Woodworker”!
Today I’ll take as an example, that reminds me of my childhood, Kids TV Shows where they demonstrated how to create some little projects whit paper and glue.
Do you remember how they illustrated the tools that would be needed to implement the project of the episode?
Very simply (they addressed to children) were showing all the tools and materials needed before you start with the actual construction.
And it’s to those TV Shows that I want to inspire for this article.
WOODWORKER’S TOOLS
By now I intend to simplify as much as possible this topic that is really extensive.
In fact there are a lot of tools, including Traditional Joinery and ModernJoinery, used by Woodworkers.
On entering the shop of a Woodworker you have certainly noticed large machines like saws of all kinds, planers, work benches etc …
But it’ll certainly eye fell also on the famous work bench.
With this article I will help you to select just the tools you need at first, to make small and simple projects.And on the wall near this bench, a myriad of tools of which it’s hard to understand the usefulness, if you are not a Pro.
Also because many of those tools are quite expensive and we don’t want to spend so much all at once!
Maybe we’ll buy a little at time…
At the end of this article, you should create your little Woodworking Kit and you will be ready to start to Work Wood.
Ok, let’s start!
THE BASIC TOOLS FOR WOODWORKING
Let’s discover the tools that you should buy now if you want to begin to make a small project with wood .
I write this article because I know the uncomfortable feeling you can get when, in the middle of a process, you find yourself without a crucial tool and you are forced to stop.
Right in the middle of the creative flow!
These things make me nervous…
Obviously I’m not talking about tools that we all have in the garage (pencils, screwdrivers, pliers, cutters, wrenches etc)
And I’m not talking about security objects (even these deserve a separate article), but for now you should at least wear thick gloves and a mask to avoid breathing in wood dust.
Let’s talk about specific equipment and a little more professional.
So don’t get caught unprepared!
Arm yourself with these 15 essential tools:
Measuring Tape
Woodworker Set Square
Woodworker Compass
Hammer
Vise
Clamps
Hand saw
Jigsaw
Circular saw
Drill/Screwdriver
Manual Planer
Electric Planer
Sandpaper (various grits)
Chisels
Files and rasps
Probably still you do not have a real Work bench .
So I suggest, in the meantime, to work on an old table to not have troubles.
BEFORE YOU’LL BEGIN I TELL YOU A SECRET
You do not need to go looking for one by one all these tools to buy
I have already done all the work for you
(Then don’t say that the Wood Blogger doesn’t love you …)
You can click on pictures or links below to see them in the online store and buy right now!
For now it will go well with a 5 meters measuring tape like the one above.
Ok, maybe that you have it already in your home, but it’s one of those essential tools that instead we tend to forget and I want to remember it anyway.
One of the most important features that a Woodworker needs is accuracy.
You have to be accurate in sizes and cuts.
You need to know all the dimensions of the pieces we’re going to assemble already from before starting the construction of a project .
For this I’m also preparing the design and planning lessons : to enable you to arrive at the practical work with very clear ideas .
This will not waste time and valuable material!
Indeed, if I were you I’ll also buy a good gauge .
Now to the tools that will help us to hold firm our and working them in peace.
In fact we often have to use a tool that is used with two hands (such as a planer or chisels and hammer) and we need that piece that we are working still remains.
A durable and stablevise is right what you really need.
Here I recommend you one that you can simply screw on your work bench.
This is not a real woodworker vise but if you are just starting and want to do small jobs, yet can fit.
When you’ll have a real Roubo Bench ( clicking here you’ll discover how to build it by yourself using few tools and saving money) it will be another story.
Another tool that you need in the moment you’ll combine, and especially paste , your wooden pieces, to keep them firmly stopped while you’re waiting for the glue to do its job.
They will be very useful in keeping steadfast work pieces that we can not block in the visethat I advised you before (which is for small pieces)
Then we will have to equip ourselves with a circular saw bench, but for now I think is a big expense and if we have to do only some small objects the handy one will be good.
Needless to say that is very useful.
It’s true that you can get from any DIY Shop and let you cut the pieces as you want.
But if you want you to feel free to make changes and cut new pieces, you will not have the famous annoying snag I was telling you about at the beginning of this article.
I can say, having a Circular Saw will make you free!
You’ll also need an Electrical Planer if you don’t want to work too hard.
In fact, the handplaner is beautiful and romantic (and useful in many cases), but when the pieces to be done are many and big in comes into play convenience.
The difference between file and rasp is that the first serves for smoothing the most delicate and has thinner teeth , while the second serves for roughing and more massive interventions.
In fact, the rasp is provided with a coarser and powerful texture.
Both are nonetheless very useful.
CONCLUSIONS
In this article I merely describe in broad outline these basic tools that you have to equip yourself to start woodworking.
Then we deepen them one by one in the next posts to learn how to use them in the best way.
Even if you’re out of luck and you have none of the mentioned tools, with a few hundred euro you will have a small but consistent carpentry that will allow you to do so many things and above all fun.
Meanwhile, as always, I encourage you to report any inaccuracies or additions that could be done in the article, commenting below .
If this blog can become a point of meeting between professionals and apprentices is above all thanks to you and to your contribution.
Also remember to follow my FB page The WoodBlogger to stay informed!